Getting Started with Ledger: Your Journey to Secure Crypto Management
In the ever-evolving landscape of cryptocurrency, securing your digital assets is paramount. Ledger, a global leader in hardware wallet technology, offers a robust solution for safeguarding your cryptocurrencies. The starting point for this journey is Ledger.com/start, a user-friendly portal designed to guide both novices and seasoned crypto enthusiasts through the setup and management of their Ledger devices. This blog explores the comprehensive process of initiating your crypto security with Ledger.com/start, detailing each step with precision and clarity to ensure a seamless experience.
Why Choose Ledger for Crypto Security?
Cryptocurrencies, such as Bitcoin and Ethereum, are stored in digital wallets, which rely on private keys to authorize transactions. Unlike traditional banking, where institutions provide layers of protection, crypto assets are vulnerable to hacking if not properly secured. Ledger hardware wallets, such as the Ledger Nano S Plus and Ledger Nano X, store private keys offline, significantly reducing the risk of unauthorized access. The Ledger.com/start page serves as the gateway to accessing these devices, offering step-by-step instructions to set up and manage your wallet securely.
Ledger’s commitment to security is underscored by its use of a certified secure element chip, akin to those found in passports and credit cards. This chip ensures that your private keys remain isolated from internet-connected devices, providing a fortress-like defense against cyber threats. Additionally, Ledger Live, the companion software, integrates seamlessly with your hardware wallet, enabling you to manage multiple cryptocurrencies with ease. By beginning your journey at Ledger.com/start, you unlock a world of self-custody, empowering you to take control of your financial future.
Navigating Ledger.com/start: A Step-by-Step Guide
The Ledger.com/start portal is designed with user experience in mind, offering clear instructions to initialize your Ledger device. Below is a detailed walkthrough to help you get started:
Step 1: Acquiring Your Ledger Device
Before visiting Ledger.com/start, ensure you have purchased a genuine Ledger device from the official website or an authorized reseller. Counterfeit devices pose significant security risks, so always verify the authenticity of your purchase. The package typically includes the Ledger device, a USB cable, recovery sheets, and a quick-start guide.
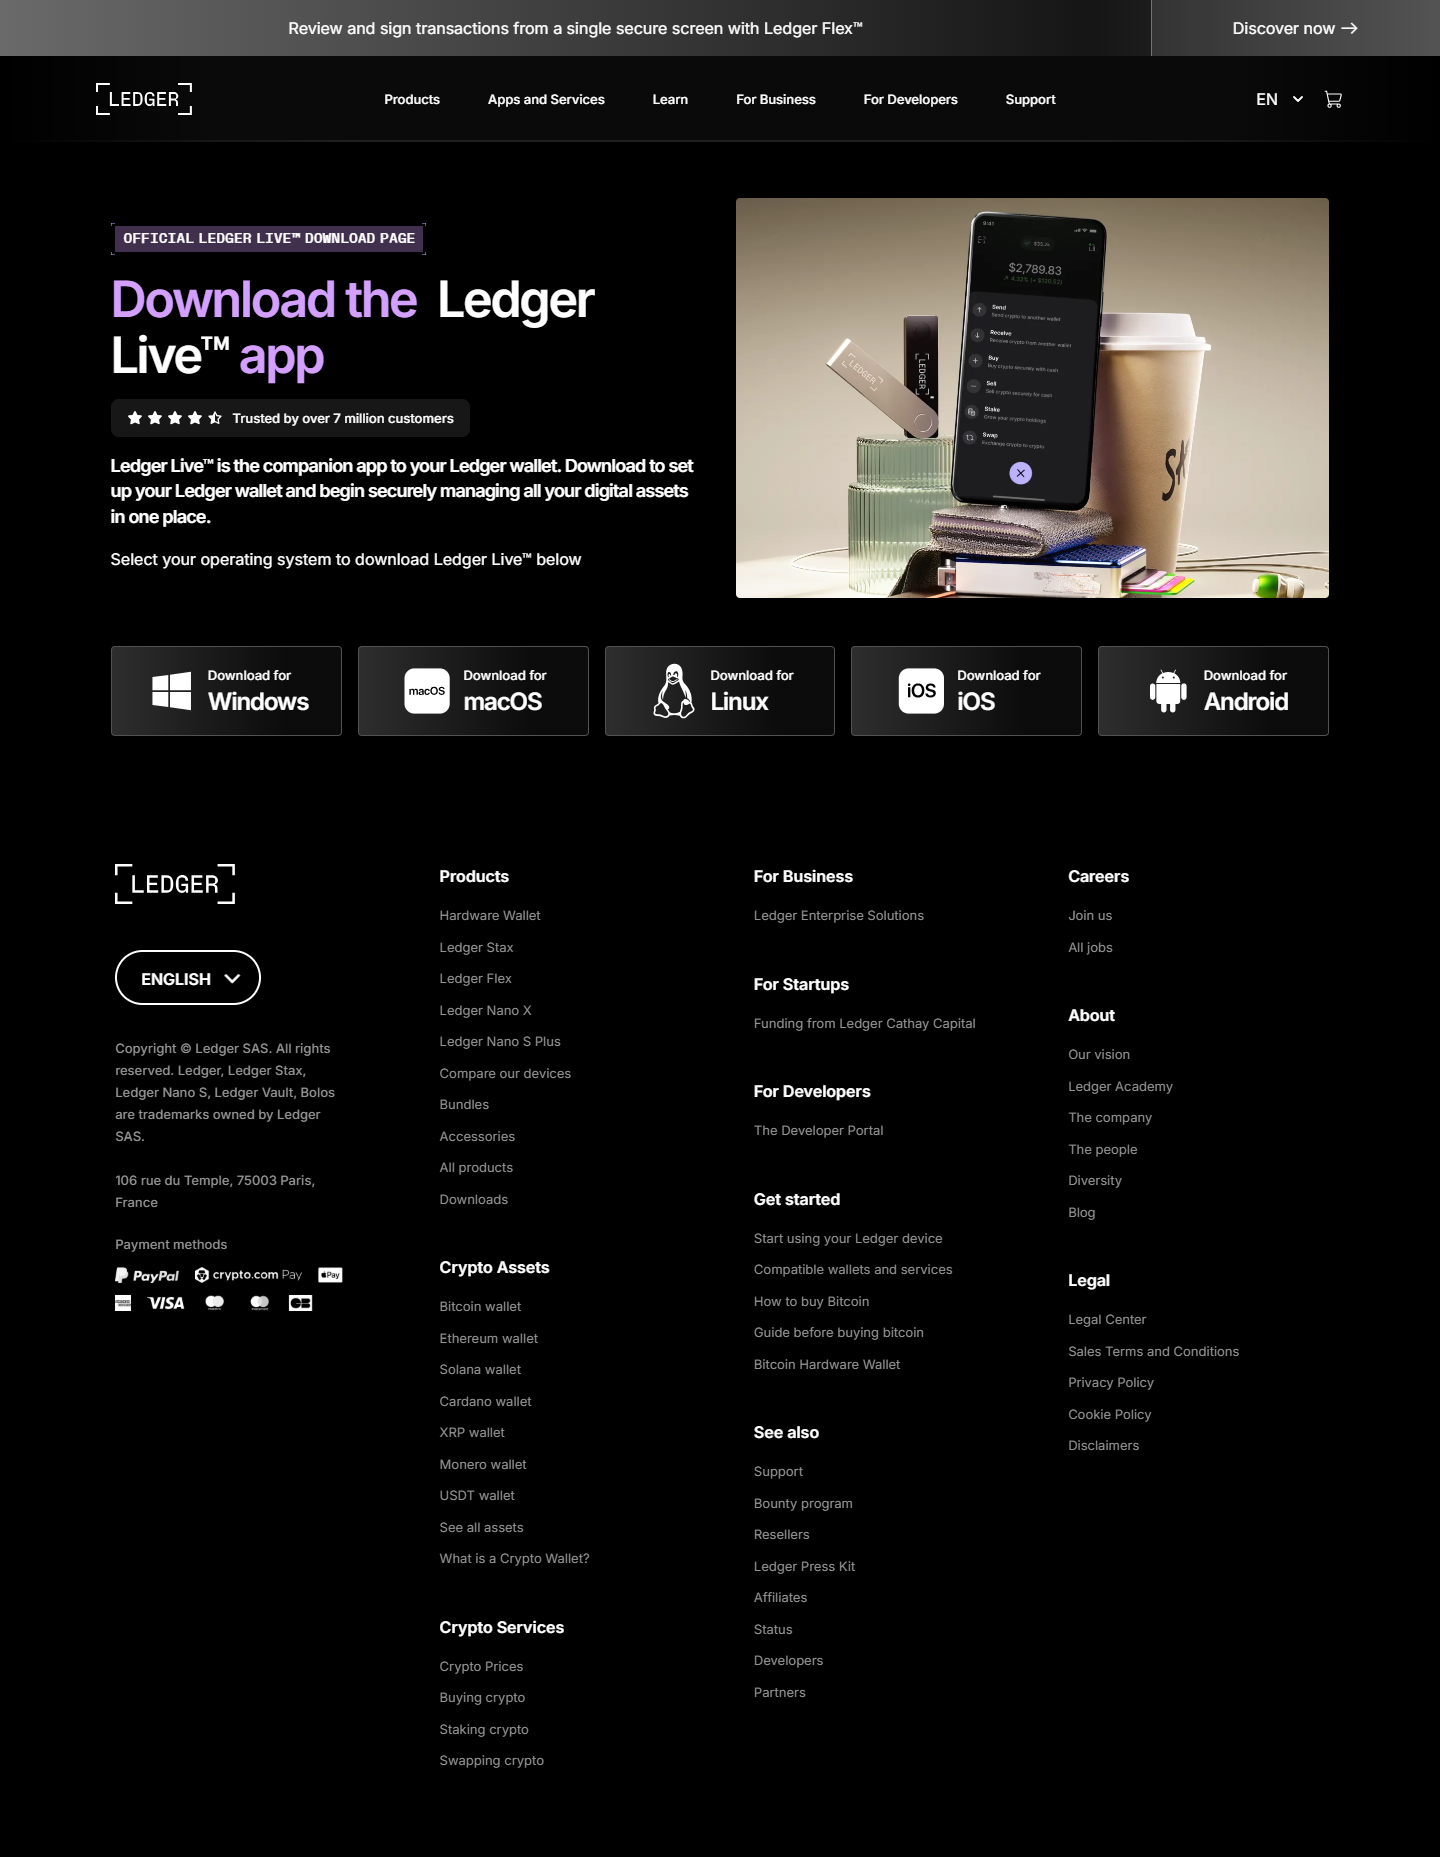
Step 2: Visiting Ledger.com/start
Open your web browser and navigate to Ledger.com/start. This page is optimized for both desktop and mobile devices, ensuring accessibility regardless of your platform. The interface is intuitive, guiding you through the setup process with visual aids and concise instructions.
Step 3: Downloading Ledger Live
The first task on Ledger.com/start is to download Ledger Live, the software that interfaces with your hardware wallet. Ledger Live is available for Windows, macOS, Linux, iOS, and Android, ensuring compatibility with a wide range of devices. Click the download link corresponding to your operating system, and follow the prompts to install the software. Ensure you download Ledger Live exclusively from the official Ledger website to avoid phishing scams.
Step 4: Connecting Your Ledger Device
Once Ledger Live is installed, connect your Ledger device to your computer or mobile device using the provided USB cable. For Bluetooth-enabled devices like the Ledger Nano X, you can pair it wirelessly via Ledger Live. Upon connection, the device will prompt you to set a PIN code. Choose a strong PIN (avoiding repetitive or predictable numbers) to secure access to your device.
Step 5: Generating and Securing Your Recovery Phrase
The most critical step in the setup process is generating your 24-word recovery phrase. This phrase is your backup to restore access to your crypto assets if your device is lost or damaged. Follow the on-screen instructions to write down the recovery phrase on the provided recovery sheet. Store this sheet in a secure, offline location, such as a safe or a bank vault. Never store your recovery phrase digitally or share it with anyone, as it grants full access to your funds.
Step 6: Installing Crypto Apps
Ledger Live allows you to install apps for specific cryptocurrencies, such as Bitcoin, Ethereum, or Cardano, directly onto your device. Navigate to the “Manager” section in Ledger Live, select the desired apps, and install them. These apps enable your device to interact with the respective blockchain networks, allowing you to send, receive, and manage your assets securely.
Step 7: Adding Accounts and Managing Assets
With the apps installed, you can add accounts for each cryptocurrency you hold. In Ledger Live, select “Add Account,” choose the cryptocurrency, and follow the prompts to create a new account. You can then transfer your crypto assets from exchanges or other wallets to your Ledger-protected accounts. Ledger Live provides a dashboard to monitor your portfolio, view transaction history, and execute trades securely.
Advanced Security Features: The Passphrase Option
For users seeking an additional layer of protection, Ledger offers a passphrase feature, often referred to as the “25th word.” This optional security measure allows you to add a custom word or phrase to your recovery phrase, creating a separate set of accounts. Even if someone gains access to your 24-word recovery phrase, they cannot access these hidden accounts without the passphrase. To set this up, follow the advanced security instructions on Ledger.com/start, and treat the passphrase with the same care as your recovery phrase.
Best Practices for Ongoing Security
To maintain the integrity of your Ledger device, adhere to these best practices:
- Regular Updates: Keep your Ledger device firmware and Ledger Live software updated to benefit from the latest security enhancements.
- Phishing Awareness: Be cautious of unsolicited communications claiming to be from Ledger. Never enter your recovery phrase on any website or application other than your physical Ledger device.
- Physical Security: Store your Ledger device and recovery phrase in separate, secure locations to mitigate risks from theft or natural disasters.
- Backup Verification: Periodically verify your recovery phrase to ensure it is accurate and accessible in case of emergencies.
Made in Typedream